

BUILD A PLANE
Take the next step towards the freedom of flight with our kit airplanes. To get started our kits come complete with ready-to-assemble parts and easy-to-follow instructions. Let’s make your dream of flying come true.
SIGNATURE SERVICE SUPPORT
We’ve got you covered from nose to tail and wing to wing. Our knowledgeable service support team are ready to assist you with your technical questions. Ckd.Aero understands what is needed to build a plane. Drop us a line or give us a call.

SIGNATURE SERVICE SUPPORT
We’ve got you covered from nose to tail and wing to wing. Our knowledgeable service support team are ready to assist you with your technical questions. Ckd.Aero understands what is needed to build a plane. Drop us a line or give us a call.

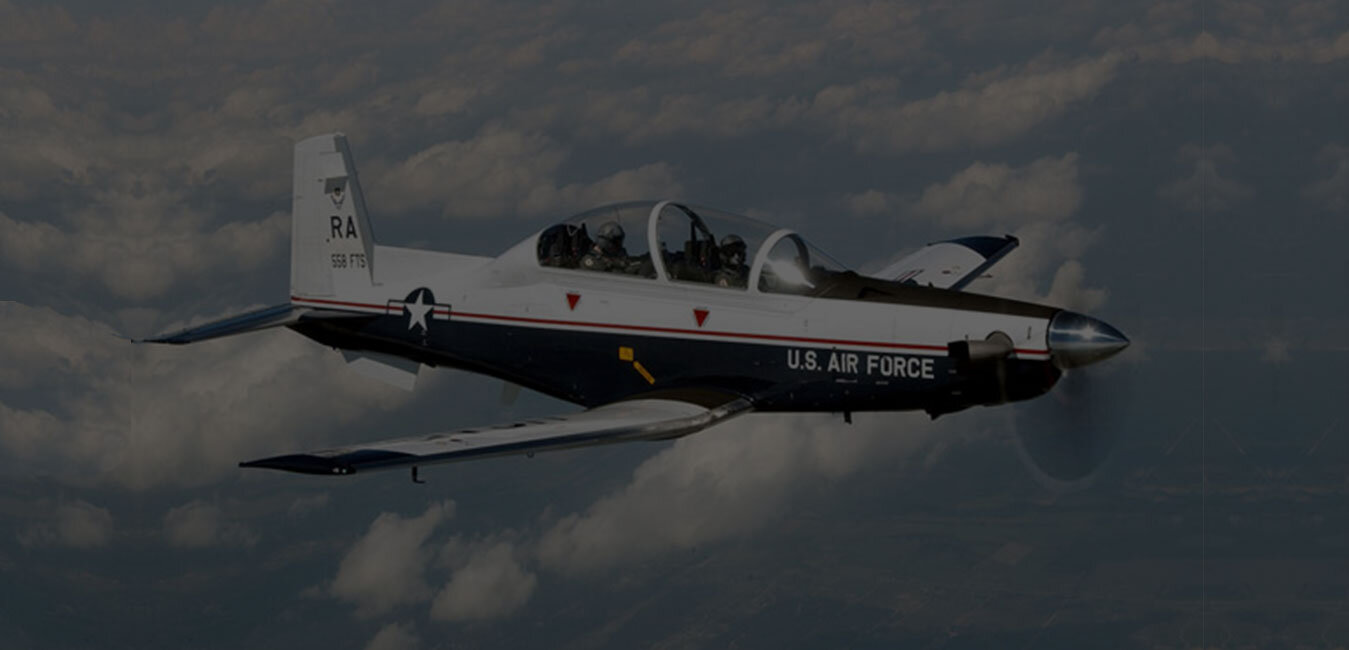
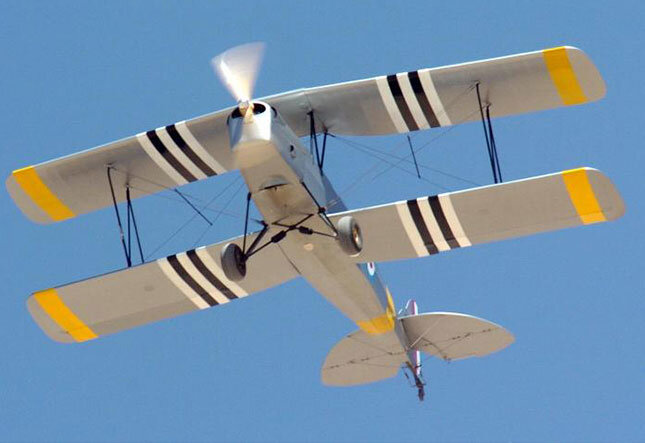
Safely Owning The Skies
From “Feeling the Need for Speed” to “Low and Slow” flying, our planes fulfill your dreams. Though we sleep better at night knowing our safety records are impressive, thank you. Let’s keep working together towards technical and operational excellence.
Components and Specifications
PARTS FABRICATION
Ckd.Aero is leveraging its expertise to manufacture aircraft components at a high level of quality and safety.
MANUFACTURING FACILITIES
We are globally recognized as a leader in manufacturing; steel, aluminum, composite, wood, plastics, and industrial textiles.

DESIGNED AND ENGINEERED
We combine our core competency in engineering with our original design concepts to respond to the needs of our customers.
ENVIRONMENTAL SUSTAINABILITY
For over 20 years, Ckdpack and it’s subsidiaries have believed it is our responsibility to conserve natural resources and protect global ecosystems.
Learn More About Our Aircraft


EVERY KIT
All our kits have been carefully engineered and produced to surpass industry standards.

SAFETY
Safety on our floor means safety is the sky. We are ISO9000 certified.

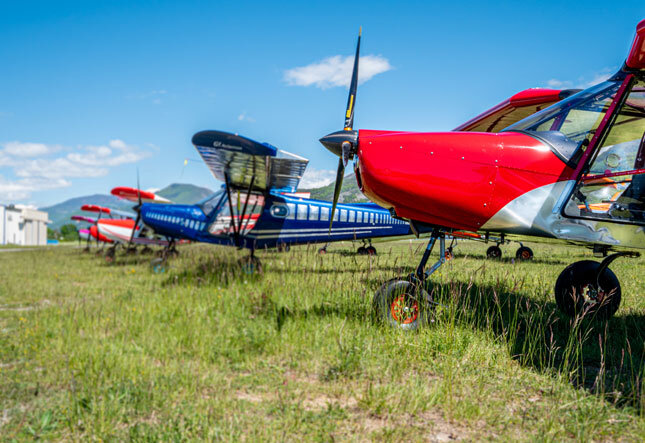
All Around the Globe
Airplane Kits to Custom Parts, Ckd.Aero has 8 facilities globally on 3 continents to serve you better.

EXPERIENCED TEAM
Our team of experienced designers and engineers are highly trained professionals working together to ensure you get your dream plane.

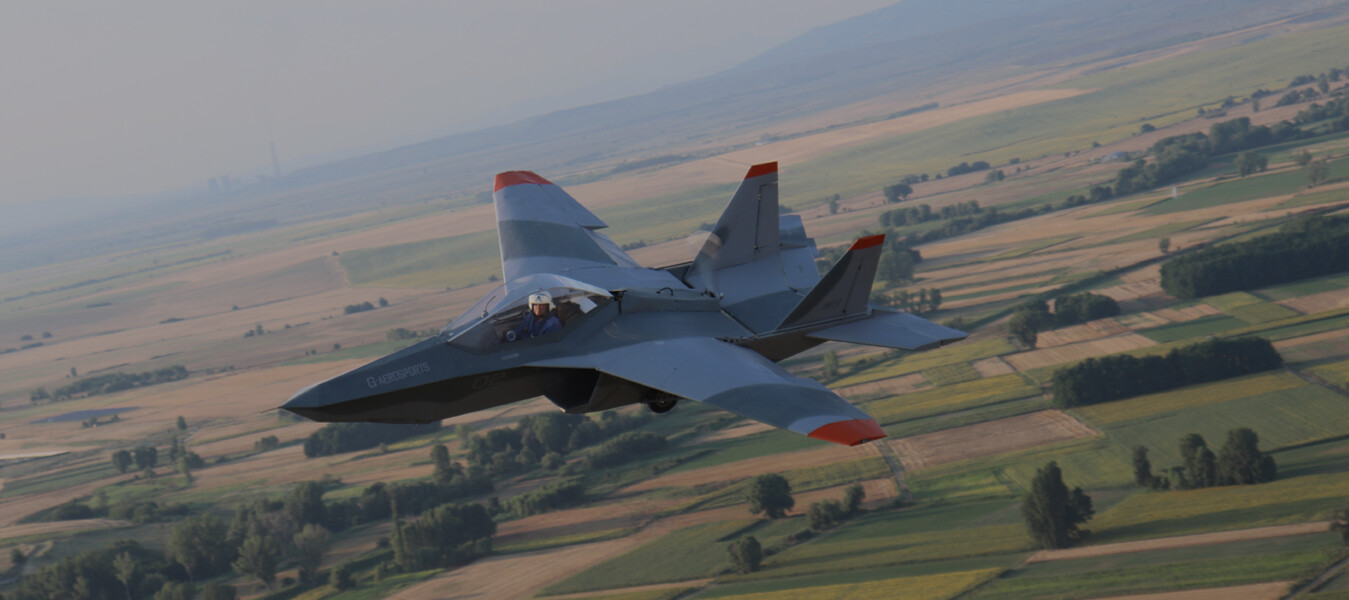
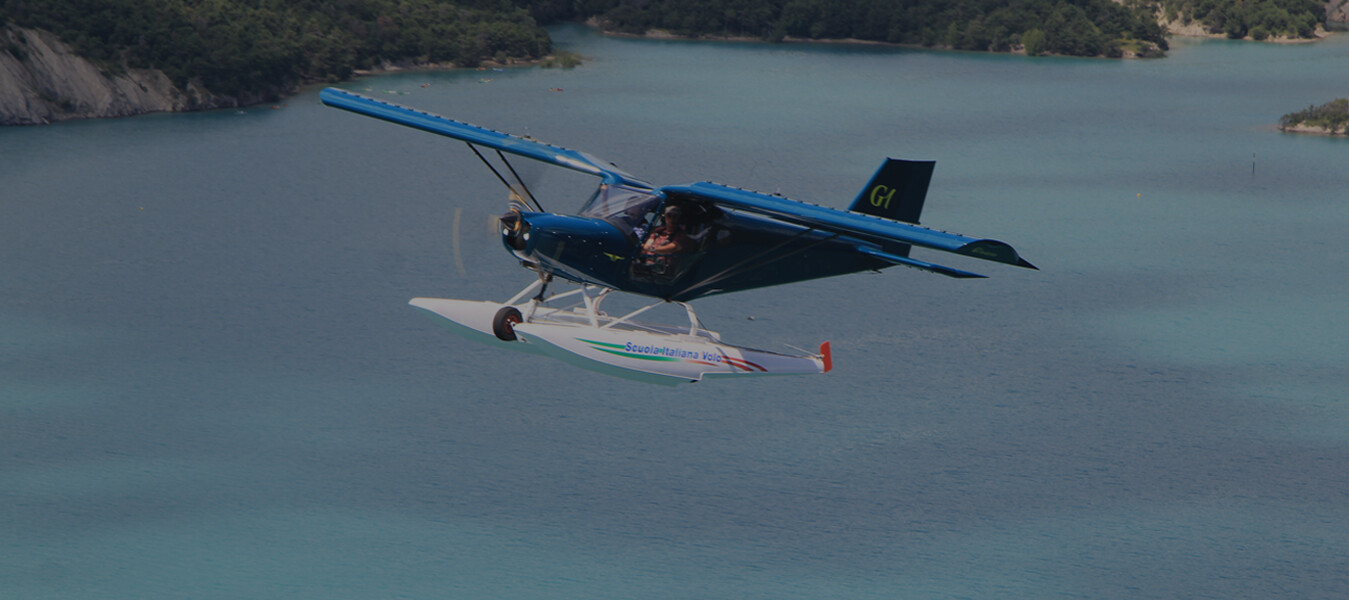
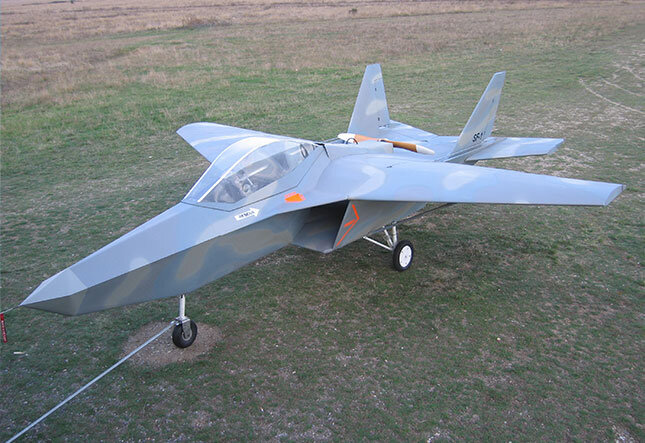
Our Aircraft
From accurate reproduction fighter planes to sleek composite aircraft, our offerings are as unique as our customers.

AFFORDABLE
Building your own plane should be an affordable luxury. We have a kit that will fit you.
Our Aircraft

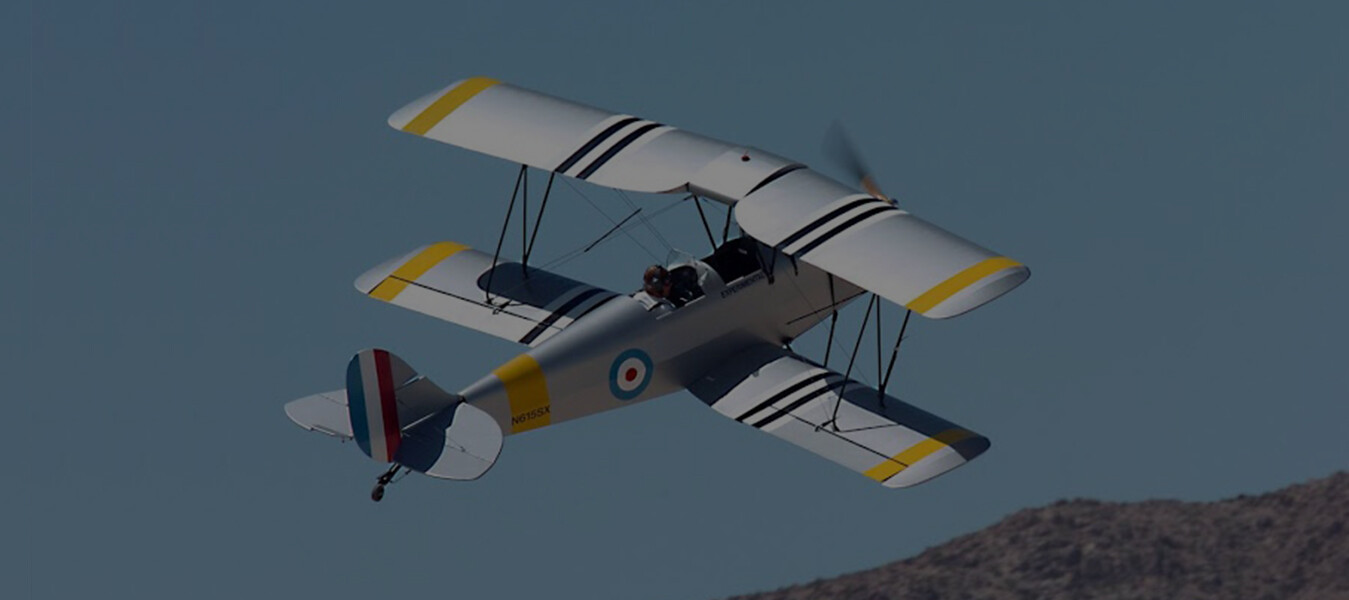
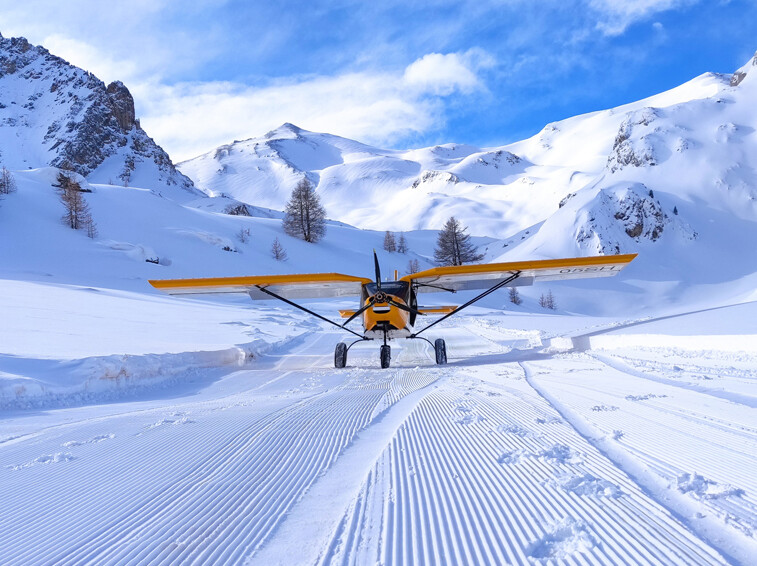
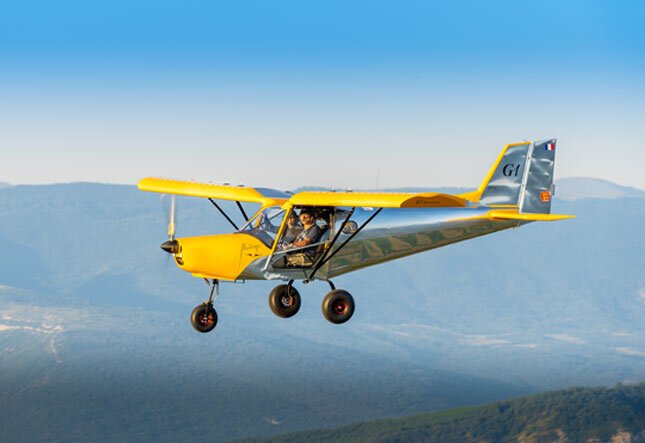
FISHER FLYING PRODUCTS
These are special planes for the pilots who appreciates the “Low and Slow” joy of flying!

")
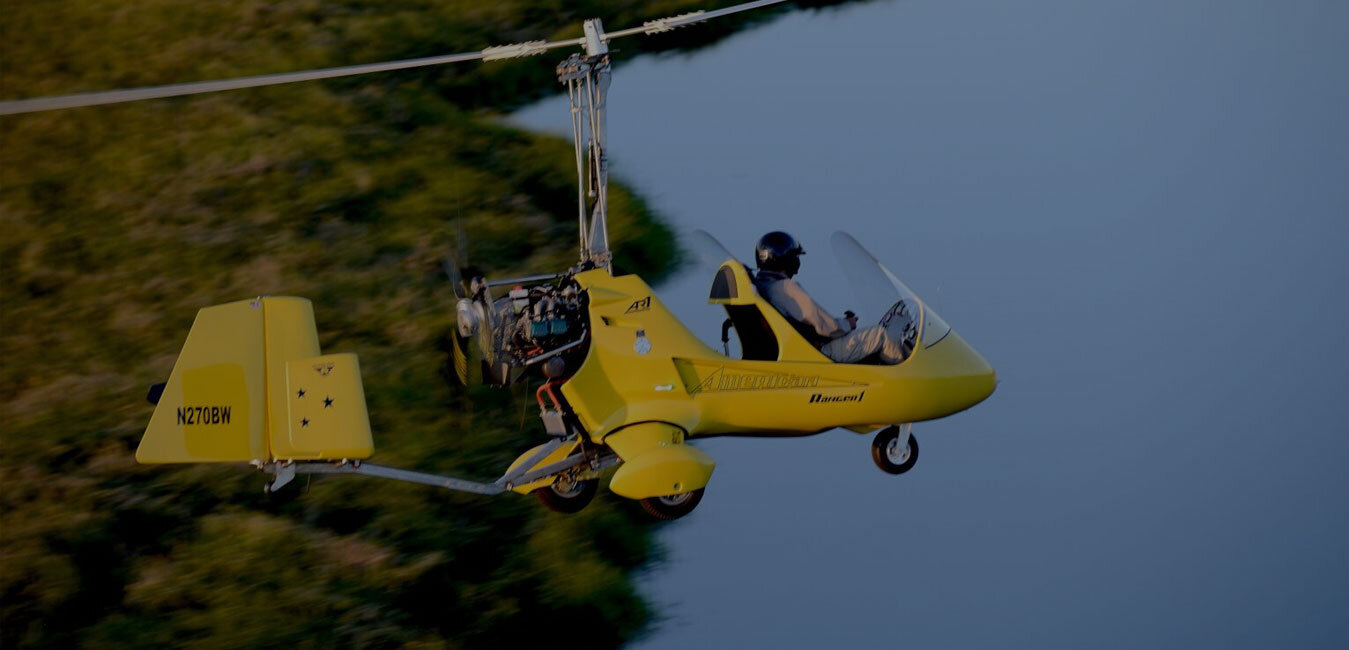
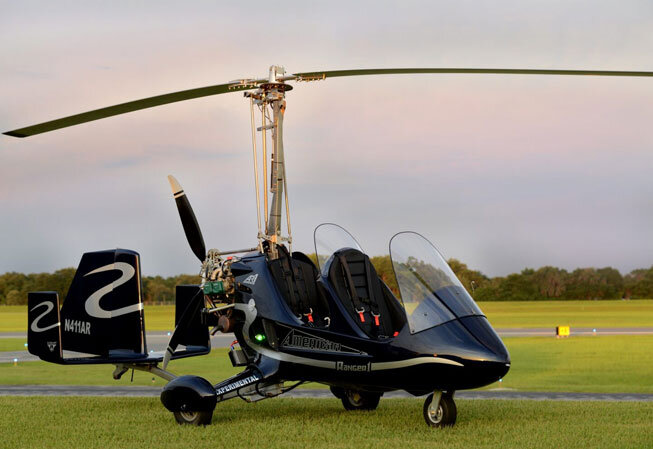
Gyrocopter
We produce the finest Gyrocopters


